Monday, December 22, 2014

Challenge Winners - A Vintage Holiday

Happy Monday everyone. Not long now until Christmas Day is upon us - are you ready yet? It's also time to announce the winners of the 'A Vintage Holiday' challenge. We had so many incredible entries for this one and the standard was so high that it made the DT's task of choosing a winner really difficult. After much deliberation our votes went to entry #35 Julie Lavalette.


We couldn't believe how much detail was included in this utterly gorgeous project, from the altered frosty frame to the roof top diorama complete with Santa and his reindeer. Our congratulations go to Julie, our Frilly and Funkie favourite this time, who has won the opportunity to be a Guest Designer here for a future challenge.


And Random.org has chosen a winner for our $25 gift certificate to The Funkie Junkie Boutique. Our congratulations go to entry #9 Heather A Hudson.

A huge vote of thanks from the Frilly and Funkie Design Team to everyone who took part in this challenge and congratulations again to our winners. Please email Linda at thefunkiejunkie@gmail.com for the codes for the winner's badge and to give us your email address for the Guest Designer details (Julie) and for the gift certificate details (Heather).

You'll be pleased to know we will be back on December 31st for the start of a brand new challenge (and of course almost a new year!) with exciting news. For now, from all of us here at Frilly and Funkie, we wish you a very Merry Christmas.

Wednesday, December 17, 2014

We Wish You A Merry Christmas

Welcome back to the Frilly and Funkie challenge blog. For those expecting to see the beginning of a new challenge the Design Team are now taking a short break over the festive period. We'll be back on Wednesday, December 31st for the start of a new challenge and some exciting news. The Funkie Junkie Boutique will remain open for business as usual (check Linda's blog or the Boutique website for details of any temporary closures).

The winners from the last challenge, 'A Vintage Holiday' will be announced as usual next Monday, December 22nd so please check back then to see who the team have picked to join them for a Guest Designer spot next year and who has become the latest lucky random winner of the $25 shopping coupon.

The whole team would like to take this opportunity to thank you for your company during 2014. Your wonderful comments and amazing challenge entries mean the world to us. We wish you all a very Merry Christmas and hope that for all of you the New Year is a prosperous and creative one.

Friday, December 12, 2014

Friday Focus - Maja Design Papers

It's Cec here and it is my turn to host the Friday Focus segment and today it is all about Maja Design papers.

During the next two weeks there will be an additional 15% discount on all Maja Design paper packs at The Funkie Junkie Boutique.


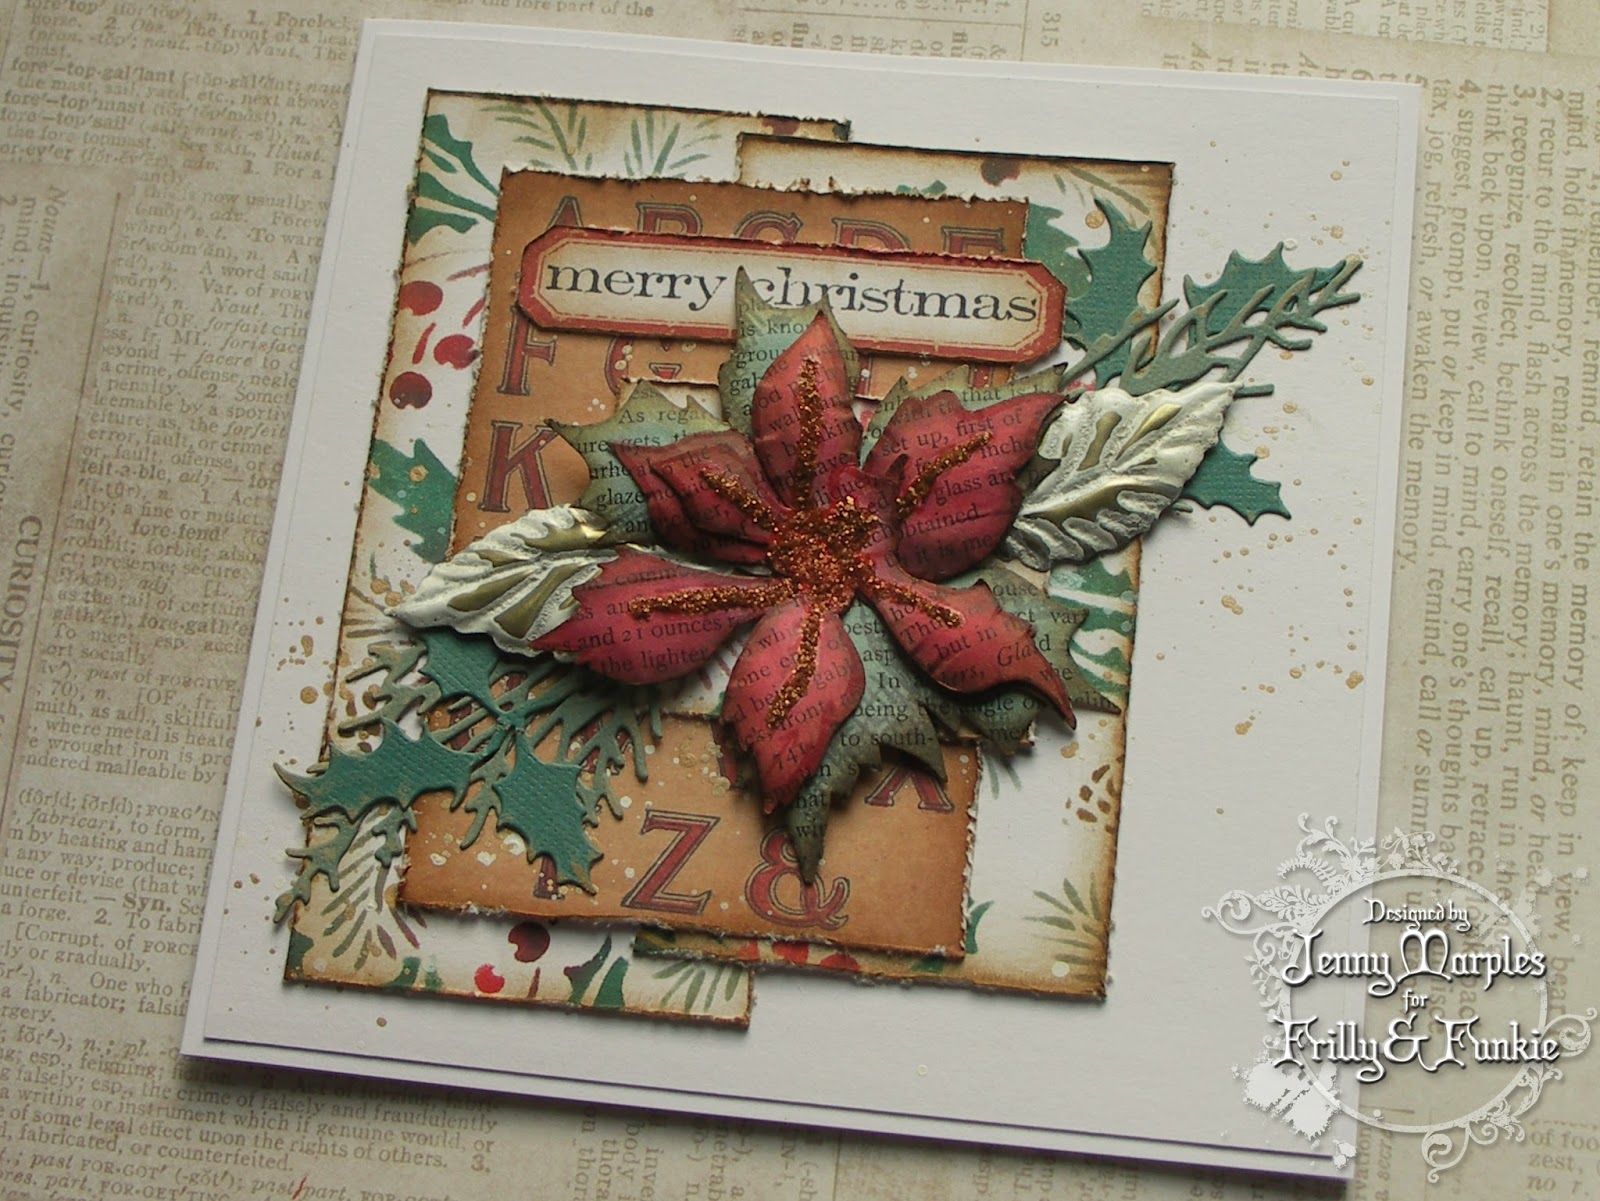
Christmas cards are always a must have item this time of year so I decided to make another one to give to a very old friend - that is, old as in since we were babies.


I created the background from a piece of white card stock.  First I took a brayer and laid on a layer of Light Blue Folk Art acrylic paint.


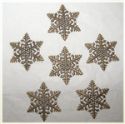
The next step was to add some texture paste through a stencil called Snow Flakes.


Then I inked it with Weathered Wood, Stormy Sky and Faded Jeans Distress Ink but I couldn't get a blend that matched the papers for the stocking that I was happy with so I took a natural sea sponge and dabbed some Gesso on it - now I was happy.


Once dry I rubbed some silver wax paste onto the snowflakes.  The paste was some I have had for years and while it was still somewhat soft, it was more difficult to work with than some I have from a different manufacturer so I probably should have gone over them a second time to get the silver to pop.  Note to self - splurge on some new silver wax paste or maybe put it on my list for Santa.

I distressed the edges with my scissors and added a few bits of texture paste to look a bit like snow.  Once it was glued to the card blank I added some tiny clear gems along the edge in a couple of spots.


The next step was to cut a stocking shape on my Cameo.


Then it was time to dig out the Maja Design paper pack and this time I used the Vintage Frost Basics.


I glued one of the papers to the toe and heel pieces used a stencil called Mini Ledger with some Wendy Vecchi Crackled Paste to add some highlights.


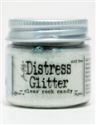
I also laid some Crackled Paste onto the cuff and while it was still wet I sprinkled some crystal glitter on it.


Once everything was dry, I added more papers to the stocking. I just took one photo of the papers being added although I used two different ones for the first layer. I also noticed that the paper in the photo is upside down but thankfully it is hidden by the toe so you can't see my little oops. I used a brass stencil from Fiber Art to pierce a pattern on a narrow strip of paper and stitched it using embroidery floss.

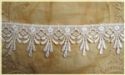
Then attached the cuff, heel and toe.  I added some gems, venise lace and a sentiment that was part of the pack.  I also added a tag and date that were in the pack but backed them with another tag hand cut from some of the paper.  I didn't have a white brad that was small enough so I just painted one.


Next I created my poinsettia, which was die cut from some gauzy materials I picked up at a wholesale place in Virginia.  You could use the crinoline Linda sells in The Funkie Junkie Boutique but I wanted a really lacy look so I went with this fabric.  I coated each layer with Glue and Seal.


The leaves and flourish are die cuts from my friend 
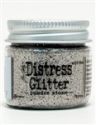
Pamellia and they were coated with Perfect Pearl Perfect Pearls (say that five times fast - lol) as were the poinsettia layers.  I use Gum Arabic as a medium with the powder.  I added some stamens to the flower when I combined all the layers.  I also tucked some silver berries under the poinsettia when I added it to the card.

Finally I made a bow from some silver metallic mesh ribbon and added a little snowflake to the centre.  I also added a few more gems for a little added bling.

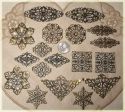
Here is a revisit of some other projects I have made with my Maja Design papers:


The following products used to create this card came from The Funkie Junkie Boutique:

Wednesday, December 10, 2014

A Vintage Holiday

Hello and welcome! December has finally arrived, bringing with it the wonder and magic of the season. Many of us are in the midst of our preparations for this festive time of the year. For this challenge let's get one step closer to finishing up our to-do lists by creating a vintage themed holiday project (as there are lots of different celebrations taking place at this time of year).

The winner will earn a Guest DT spot here at Frilly and Funkie, and everyone who enters will be entered into the draw to have the chance to win a $25 spending spree at The Funkie Junkie Boutique.

The guidelines for entering are simple: create a new vintage project following the challenge theme, link it below to your post (not just your blog) and also include a link back to this challenge in your post. You can combine our challenge with up to 10 challenges (including this one) to be in with a chance of winning. Make sure you follow these rules as unfortunately we have had to eliminate entrants from the prize draws in the past when they have entered too many other challenges. If you are entering through a public forum please use keyword F&F. Also, please be sure to turn off your Word Verification so our Design Team can leave comments on your blogs.

And now we have some inspiration from the Funkie team to start off Week Two (click on each photo for a close up view)!

 Nicole Wright- Canadian Nickel Scrap'n 

Jenny Marples - Pushing The Right Buttons

Sue Carrington - Stamping Sue Style

Linda Coughlin - The Funkie Junkie


*****************************************************
WEEK ONE

We have some inspiration from the Frilly team to start off Week One (click on each photo for a close up view)!

Cec Wintonyk - CW Card Creations

Nancy Dynes ~ Tattered Treasures 

Linda Coughlin - The Funkie Junkie

Rebecca Deeprose ~ Paper Primrose

The rest is up to you. We invite everyone to join in and share your amazing creations with us. Thank you to everyone who has already entered this challenge. The Design Team can't wait to see what else you have planned out there!

Hugs,
Nancy


Monday, December 8, 2014

Challenge Winners - A Gift From The Heart and Getting Notifications...

Welcome to the start of a new week here at Frilly and Funkie, and it's time to announce the winners of the 'A Gift From The Heart' challenge. Thank you so much to everyone who took the time to enter with so many fantastic projects. The Design Team were truly blown away by the incredible creations you guys made; there are some very lucky family and friends out there is all we can say! Boy, did that make our decision tough and we were really torn about who our winner should be this time. Finally we settled on an incredible altered Configurations Box Book by #6 Jane of Jane's Journal.


Jane took our breath away with all the clever ideas and little details she crammed into each and every inch of this very special project. If you haven't seen it yet we can highly recommend a visit HERE. Congratulations Jane on being our favourite for the 'A Gift From The Heart' challenge and winning the opportunity to be a Guest Designer here at Frilly and Funkie for a future challenge.


And Random.org has chosen a winner for our $25 gift certificate to The Funkie Junkie Boutique. Our congratulations this time go to #19 Shelly Schmidt.

A huge thanks from the Frilly and Funkie team to everyone who took part in this challenge and congratulations again to our winners. Please email Linda at thefunkiejunkie@gmail.com for the codes for the winner's badge and to give us your email address for the Guest Designer details (Jane) and for the gift certificate details (Shelly).

Our current challenge, 'A Vintage Holiday', runs through Tuesday, December 16th. We hope to see you entering this time around so that you too can be in with a chance to win. And remember, you can enter up to 10 challenges (including ours) and a maximum of 3 entries per person to our challenge. Please remember to link back to our challenge in your blog post and mention that you are entering this Frilly and Funkie challenge.

And now for some news; over 700 people have been kind enough to 'Like' The Funkie Junkie Boutique Facebook page to date, but due to the way Facebook is run, many of you do not automatically get to see the regular posts on your own timeline. There is a way you can make sure you don't miss out and 'get notified' whenever there's a new post on The Funkie Junkie Boutique page.

(click on the image below for a close up view)

Use the drop-down menu to the side of the 'Like' buttons to select 'Get Notifications' and you'll get a message at the top of your screen to let you know each time we share something. Remember, Facebook may not include our posts on your timeline even if you've Liked our page so put yourself in control by getting notifications.

Have a great week everyone!

Saturday, December 6, 2014

Saturday Step By Step with Rebecca

Hello and welcome. Today I'm presenting a Step By Step for Frilly and Funkie. Searching through my stores of goodies, I compiled a tray of supplies that I've been itching to play with and this is what I made…


My inspiration were some sweet little decorations made by the talented Karen Valentine. I finally saw a use for my old, too fussy (for a busy cook), individual tartlet pans on her blog. I made a mental note that has managed to stay with me! I assembled different sizes of wooden spools, Tim Holtz bottle trees, snippets of venice lace, distress glitter, seam binding and metal, filagree embellishments…


While it was my intention to stick to a palette of creams, burlap tans and white, these red berries and a length of baby blue seam bindings were irresistible!…


The tree (the edges of the branches touched with white gesso) stands on a metal, floral ring, painted white in a shabby way (you can see it peeking out from under the seam binding bow). It is adhered to a wooden spool that has been dressed up with two layers of venice lace. The spool rests on a white cotton, crocheted floral doily and the whole tower is supported by a very small tart tin…


The next little tower has a tree dressed up with some white gesso, touched to the ends of it's branches and some aurora crystal beads, glued all around. It rests on a taller spool with some wide, draping venice lace cascading down. A ring of silver tinsel twine sits under the tree's branches. The star was die cut from a cereal box and then coated in glue and sprinkled liberally with 'pumice stone' glitter, which I adore and which trails through my house and makes me smile. The upturned tart tin is capped by a circular, filagree ornament that was also painted white, but this time I bent the edges down around the tin, forming a filagree cap…


I love the look of this little tree. It was quick to swipe the white paint onto the branches and then to dab dots of glue, pressing the beads onto the tree…


This tree was coated in mica flakes for a different look and is elevated by adhering the base of another tree that I removed with pliers (you will see what happened to that base-less tree in another post!)…


Both trees were treated to some white gesso on the tips of their branches. Then, glitter was applied to a metal snowflake. I left the center untreated…


In a rather silly whimsical way, I placed this little tree on the glittering snowflake and the largest tin…


The base(s) of the tree were wrapped with a strip of sheet music. The wood that showed under the tree was painted with glue and then sprinkled liberally with rock candy distress glitter. I piled it on to look like a little mound of snow. The blueish tinge that you can see in the photo below disappeared after it dried. A band of silver tinsel twine sits at the join of the snowflake and tree base...


I hope this sparks some creative idea for you. Most of us crafters are pack rats at heart, picking up interesting things along the way, rarely knowing what they will become! It's such a pleasure to gather a few supplies and create some whimsical little decorations to gather on a small mirrored tray or on a crocheted doily… perhaps a group like this anchored by some sprigs of winter greenery?.. Have fun, be exuberant and make some playtime for yourself!

Sending you blessings and ((hugs)),